 Zabbix has maps feature, but it works so static. The geolocation module implements the use of dynamic maps, with zoom feature, navigation, map style, creating connections between host, creating circles to definition of area around a host.
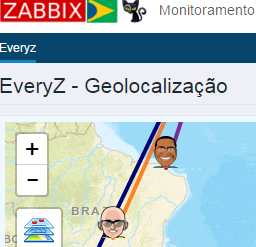
How to access the geolocation module?
Click in the menu Extras/EveryZ/geo-location, select the host group, the standard map and the default zoom level, enter the latitude and longitude of the center point you want, and then click Apply.
How do I use ZabGeo?
Before you begin using the geolocation feature is necessary to make the settings that are described below:
Configuring hosts
 Visit the host configuration, which appears in ZabGeo, host Inventory tab, change to “Manual” and enter the latitude and longitude data in the corresponding fields and click “Update”. Repeat this step for the other hosts that will be displayed on a map.
How to obtain the longitude and latitude data?
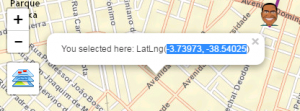 Select the desired point on the map and click with the right mouse button. The popup with the data will be displayed, copy the data to the host.
In this example:
Latitude:-3.73973 and Longitude:-38.54025)
Hint: the same feature can be used to set the center point of the map and fill in the data of the search filter.
Creating connection between hosts
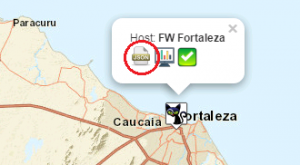 Now we have all hosts with latitude and longitude data set. So we can make the connections between the host. Click on a host, in the popup select the icon JSON. A settings screen, it have two tabs:
Circle and connection.
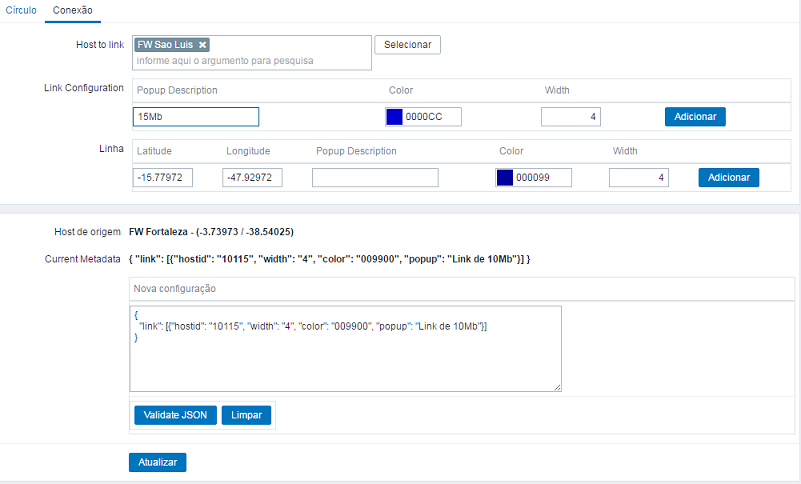
Click connection to set up the link with the target host. Then click “Select” and choose the target host, then enter the data for the description, color, and width of the connection to be created. Now click the “add” button to generate the JSON code, which will be presented in the metadata. To validate the metadata, click on the button “Validate JSON”.
Then click “Update” to record the metadata in the configuration of the host and close the window.
To create new links to other hosts repeat the walkthrough above.
Creating a circle around the host
To create a circle, which can be used for example to demarcate the area of coverage of a Wifi antenna, click the host and select the icon JSON. On the settings screen, on the circle, enter the color information and radius of the circle, in meters.
Click “Add” and then JSON validation. Then click Update to save the data on the host.

Zoom feature
Use the mouse scroll to adjust the zoom level, click and drag the map to navigate or use the-/+ keys (less/more) to adjust the zoom and the directional keys on the numeric keypad to navigate.
Standard map
To change a different style of map select a choice of styles available. It is possible to magnify the styles by creating an account at MapBox service and configuration of token in the Everyz customization. To learn how to create an account on MapBox click here.
